DIY Countertop Installation: Tips and Tricks for Marion Homeowners


Are you a Marion homeowner considering a DIY countertop installation? With the right tools and guidance, you can transform your kitchen or bathroom with stunning new countertops. This guide will walk you through essential tips and tricks to ensure your project is a success.
Choosing the Right Material
The first step in your DIY countertop project is selecting the right material. Popular options include granite, quartz, laminate, and butcher block. Each material has its advantages and drawbacks. Consider factors such as durability, maintenance, and budget to make the best choice for your home.
Granite offers natural beauty and toughness but requires regular sealing. Quartz is non-porous and low-maintenance, while laminate is budget-friendly and available in various designs. Butcher block provides a warm, rustic look but needs periodic oiling to maintain its appearance.

Measuring and Planning
Accurate measurements are crucial for a successful countertop installation. Begin by measuring the length and width of your existing countertops, accounting for any overhangs. Create a detailed plan that includes the placement of sinks and appliances to avoid any surprises during installation.
Use graph paper or a digital tool to sketch your layout. This will help visualize the project and ensure all measurements are correct. Remember to double-check your numbers before ordering materials.
Preparing Your Space
Before installation, ensure your workspace is ready. Clear the area of any items and protect surrounding surfaces with drop cloths. Remove old countertops carefully to avoid damaging cabinets or walls. Make any necessary repairs to the cabinets to provide a stable base for the new countertops.

Gathering Tools and Supplies
Having the right tools on hand will make your DIY project smoother and more efficient. Essential tools include a circular saw, jigsaw, level, measuring tape, and clamps. Depending on the material, you may also need a drill with special bits or a wet saw for cutting stone.
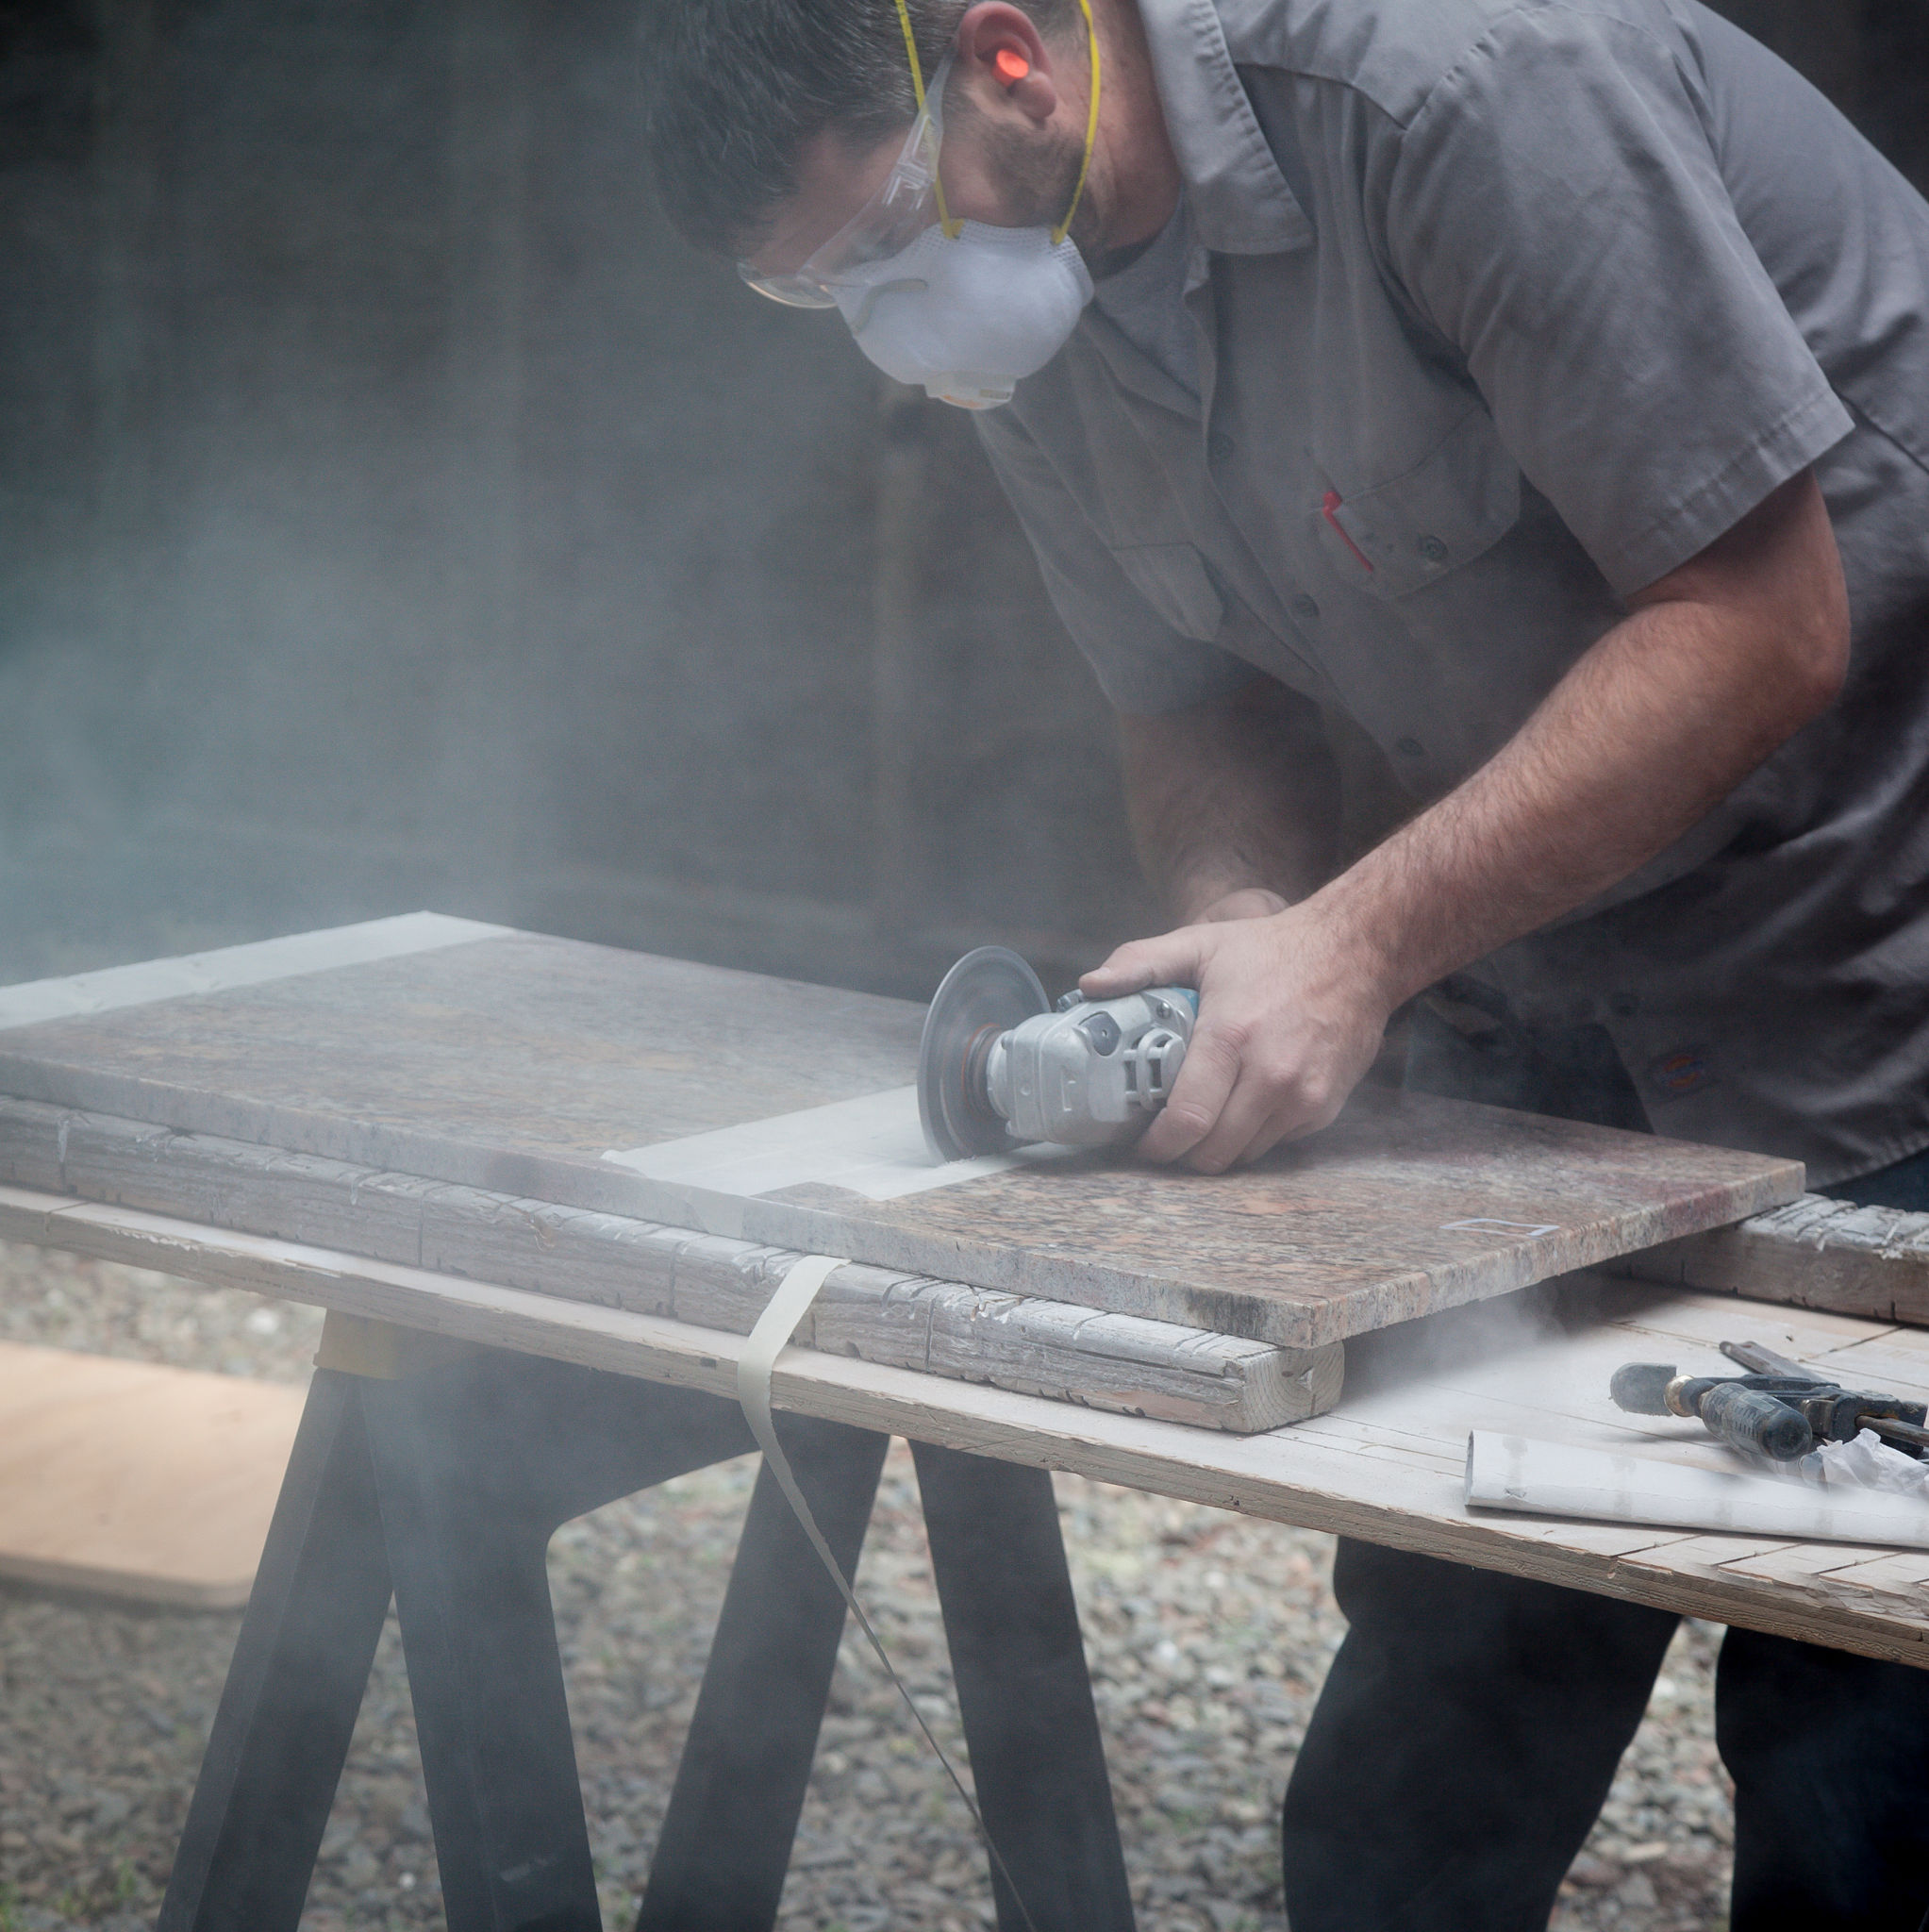
Cutting and Fitting
Once your materials arrive, it's time to cut and fit your countertops. Follow your measurements carefully, and take your time with each cut. Use clamps to secure materials while cutting to ensure precision. For stone countertops, consider renting a wet saw if you don’t have one.
Securing and Sealing
After fitting, secure the countertops to the cabinets using brackets or adhesive, depending on the material. Ensure everything is level and properly aligned. For stone surfaces, apply a sealer to protect the material and enhance its longevity.
Final Touches
With your countertops installed, focus on the finishing touches. Install backsplashes, caulk seams, and ensure all fixtures are securely in place. Clean the surfaces thoroughly to remove any dust or debris from the installation process.
By following these tips and tricks, Marion homeowners can successfully complete a DIY countertop installation. Enjoy your new space and the satisfaction of a job well done!